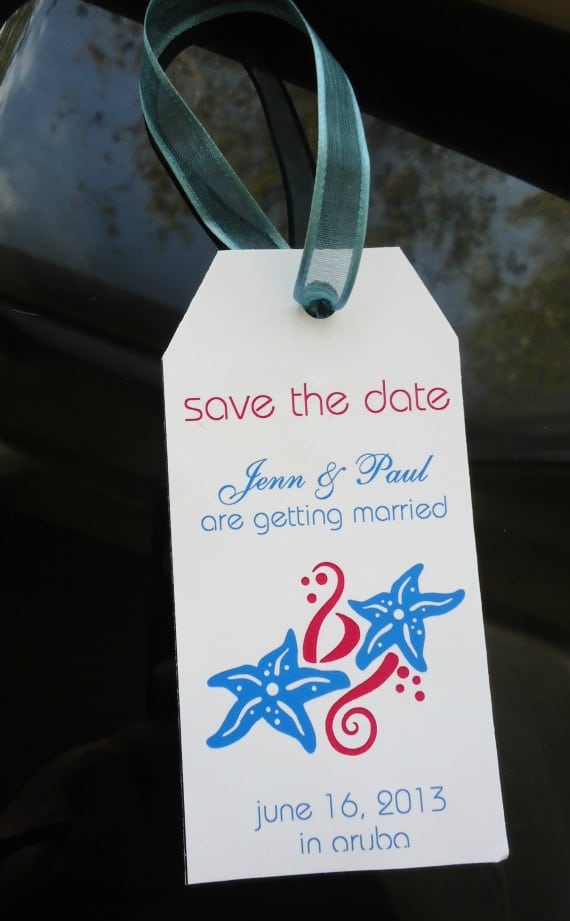
Although not a new concept, Luggage Tags are a really cool save-the-date for destination weddings, and the best part is that it’s an easy and affordable DIY project.
Below is an easy step-by-step guide with instructions to download my FREE save the date destination weddings template.
Materials
80lb metallic cover stock 8.5 x 11″
Tools
- Paper cutter
- Hole puncher
- Ribbon
- Microsoft word
- Printer
Luggage Tag Template
Microsoft Word template: If you’re not comfortable with do-it-yourself projects, don’t worry because this is a very easy template to use. If you know how to type in a word document, you can use this template – it’s that easy!
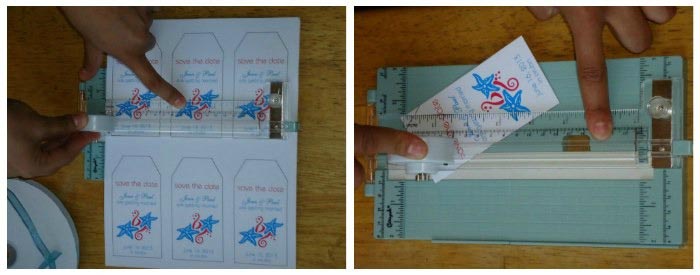
You can print up to six luggage tag save-the-dates on each sheet of paper. So if you’re mailing out 60 save-the-dates, you’ll need 10 sheets of cardstock paper. Make sure you get a few extra sheets for trial & error.
How to download the template
All you have to do is sign up for my monthly destination wedding newsletter, and you will be able to download the template instantly.
Go ahead and do that now, it will take you 30 seconds..
How to customize the save the date template
Adding your text and Images
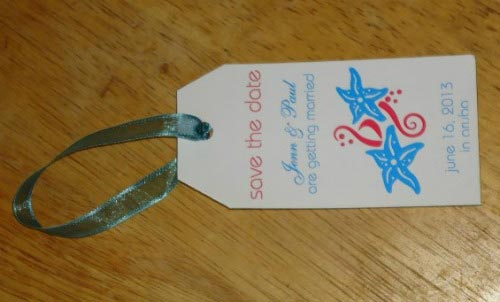
- There are three text boxes in this template and one image in the center. In order to edit this template you will first need to place your mouse over the first text box that reads “save the date”. Highlight the entire line and change it to your preferred font and color.
- Repeat the above steps for the second text box which will have your name followed by the line “are getting married” (you can change that line to “are tying the knot” or anything else you’d like).
- Next, move your mouse/cursor to the last text box below the image and edit it to match your wedding date and location.
- The last step will be to replace the image in the center of the luggage tag. Just click on the current image and hit delete on your keyboard. Next, you will click “insert” on the microsoft word menu, followed by “picture” if you’d like to choose an image from your hard drive; or you can click on “clip art” and search for a nice illustration that matches your theme.
- Repeat the above steps for all six luggage tags on this sheet. Hint: If you’re very familiar with microsoft word, you can ‘group’ all the text boxes/images in the first luggage tag, delete all the other luggage tags from the sheet and then just copy/paste the first grouped luggage tag 5 times on the sheet.
Cutting directions
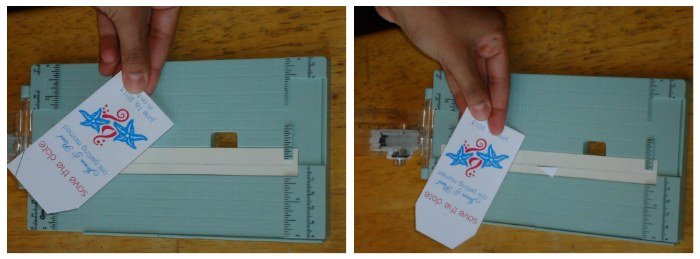
- After you print out your customized template, place the sheet of paper on the paper cutter and cut along the dotted line of each luggage tag.
- Using a hole puncher, punch one hole through the top center of the tag. Punch the hole about three quarters of an inch from the right and left and a quarter of an inch from the top.
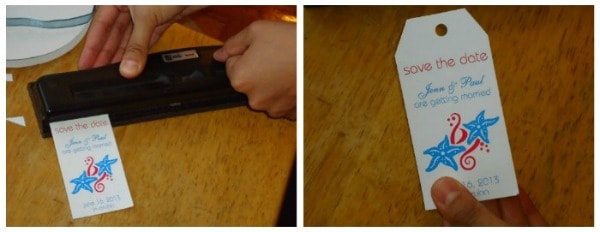
- Thread a pretty ribbon through the hole and tie it in a knot.
That’s it! Pretty simple, huh?
 Unique Riviera Maya Wedding Venue: Ocean Weddings
Leave a Reply